Set up a Customer on CSP Portal (Microsoft)
 Updated
by Support
Introduction
In this guide, we will configure a customer currently in the Not Setup status within the CSP Portal.
Please note, the references used in this guide are for Autotask, however this will be very similar for ConnectWise users.
Video Guide
Prerequisites
- Desired customer Agreement or Recurring Service pre-configured within your PSA
- Products available in your PSA
Map your Vendor Client to Autotask Company
- Log into app.cspportal.cloud and browse to Clients.

- Locate your Customer and confirm they're in the Not Setup status.
- Once confirmed, select Edit Client Settings

- Select the Select Client dropdown and locate your desired customer from your PSA

- We recommend the following settings for your first cutomer's Sync Description Setting and Sync Description Template Override:

- This feature can be enabled at a later time, and is discussed in more detail on the following article: Sync Invoice Description
- Once you've confirmed the information is correct, select Save All Clients followed by Finish Editing Client

- Your selected customer should now be in an Active status.

Map your Microsoft Licenses
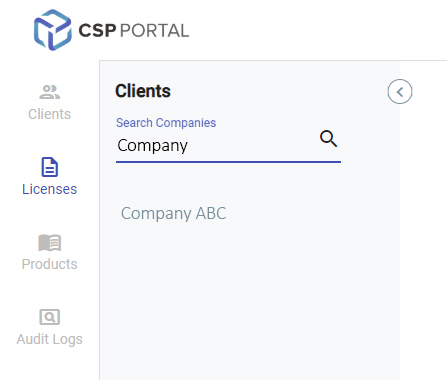
- Browse to Licenses and locate Your Client

- Once located, your Customer's licenses will display under the Manage Licenses heading.

A Product Mapping within the CSP Portal consists of:
- Microsoft License
- ConnectWise Product or Autotask Service
Each Product will need to be created once, and then can be used across all customers.
We will complete this process for all Licenses in the Not Mapped status. Select this field to proceed.

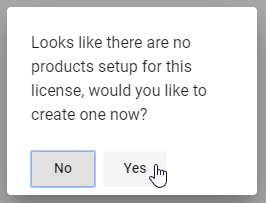
You will be prompted that no products are setup, select Yes.

Please note, if you do have Products configured for this license, they will be available to select from the following window instead:

Mapping a Product
Locate your desired PSA Product from the dropdown provided, followed by Save.


Select the Customer's Agreement and recently created Product followed by Save.

Our customer's License configuration is now complete.

Repeat this process as required for any remaining mappings, and finalize this process by selecting Start Manual Sync Process

