Create ConnectWise API Member
![]() Updated
by Support
Updated
by Support
Introduction
In this article, we will create a ConnectWise API User to use for our CSP Portal Initial Setup.
Create a New Security Role
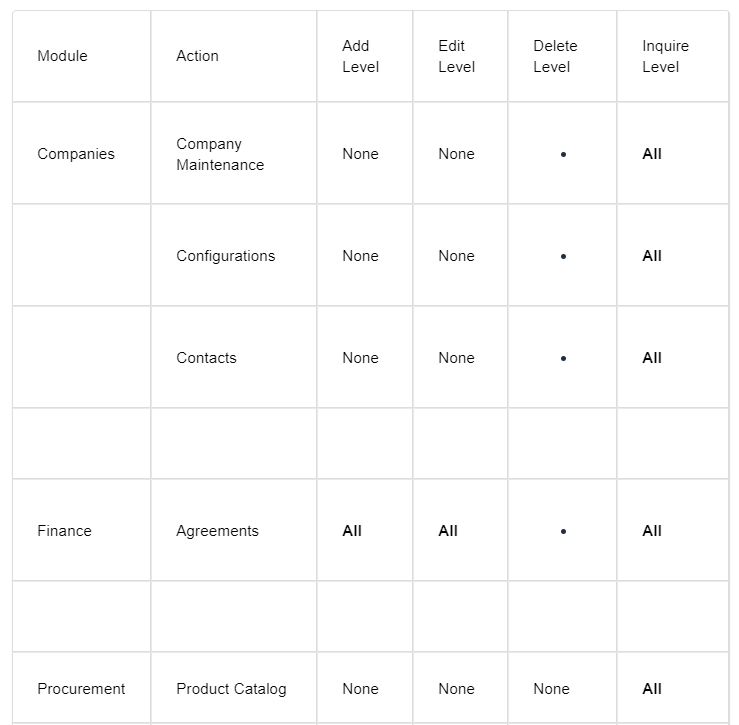
For the CSP Portal we recommend creating a new security role based on the minimum security requirements matrix below.
You can create a new Security Role within ConnectWise from Setup > Security Roles > New Item
Create an API User:
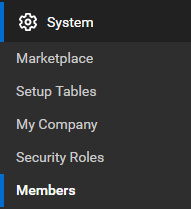
As a ConnectWise Administrator, browse to System > Members
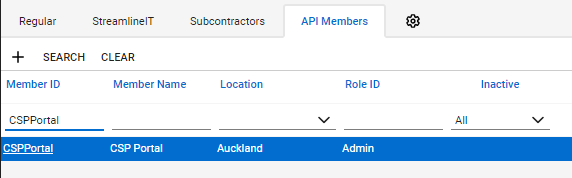
Select the API Members tab and click the + Symbol to add a new API Member.

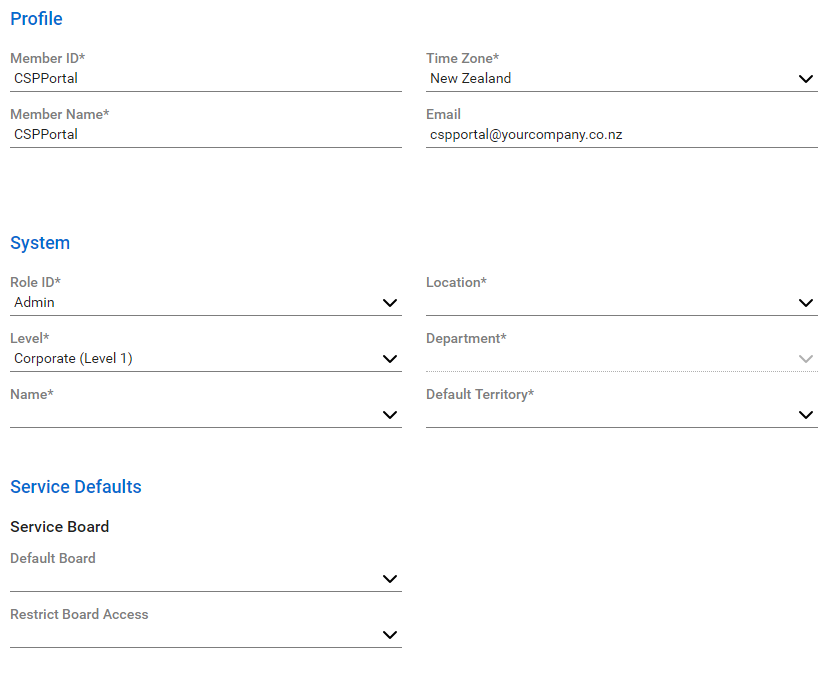
A lot of the fields can be left as their default, and requirements per company may differ.
The following are requirements:
- Role ID: (Name of the Security Role created earlier)
- Level: Corporate (Level 1)
Once complete, save your new API Member.
Create an API Key
Load into your recently created CSP Portal API Member:
Select the API keys tab and click the + Symbol to create a new API Key Pair.
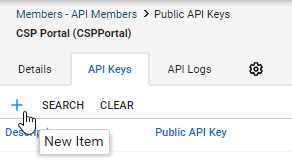
Name your Key Pair and Save.
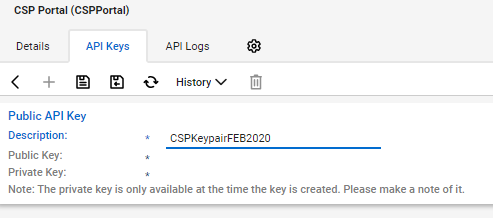
Store your API Public and Private Keys in a secure location.
These will only be available for you to view/copy once.